Instructions
To access Loughborough University data shared with you through a Microsoft 365 link, you will need to set up Multi-Factor Authentication (MFA).
Step 5: Start MFA registration
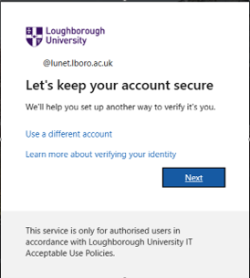
After signing in, you may see either:
- Keep your account secure, or
- Additional security verification
Both screens are used to set up Multi-Factor Authentication (MFA).
Select Next to continue.
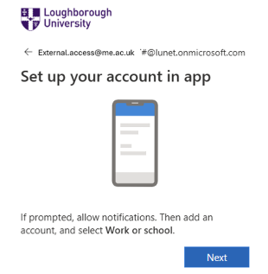
If you are presented with setup options, choose Microsoft Authenticator or Mobile App.
Step 6: Install and open Microsoft Authenticator
If you do not already have it installed, download the Microsoft Authenticator app from your device's app store - please see links below to access Google Play for Android and App Store for iOS devices.
Open the app and:
- Select Add Account (+)
- Choose Work or School Account
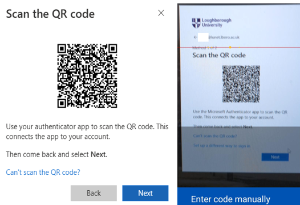
- Select Scan QR Code


Step 7: Scan the QR Code
Using the Microsoft Authenticator app, scan the QR code displayed on your computer screen.
Once scanned, select Next on your computer.

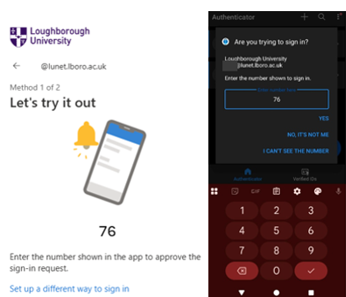
Step 8: Complete verification
Microsoft will now test the connection to your Authenticator app.
You may be asked to:
- Approve a notification on your phone, or
- Enter a number shown on your computer into the Microsoft Authenticator app
Follow the instructions displayed on the screen.
Step 9: Finish setup
Once verification is successful:
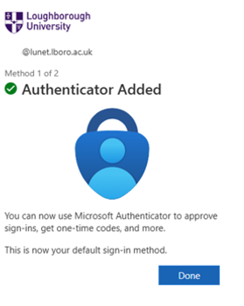
- Click Next or Done
- MFA setup is now complete